Showing posts with label paint. Show all posts

Wednesday, April 15, 2015

Guest Bathroom- Before & After


The Before:
 
This is how our upstairs guest (& now kids) bathroom looked when did our first (and only) walk through of the house before buying it.  I slapped some paint swatches on the wall and picked the brighter turquoise color, but never got around to painting the bathroom for almost 2 years! 
 
Finally I was fed up with random colors on the wall and the last of the dark wood trim in the house- so I grabbed the extra Agreeable Gray paint from our bedroom and painted away. 
 
I would say this is Phase 1 for the guest bathroom.  Even though we removed the bath doors, we still need to remove the tracks and putty the holes.  I also need to clean or replace the ceiling lights.  Long term dream would be to replace the one long mirror with two fun mirrors, update the counter or replace with double sink dresser style, and switch yellow tiling for white subway tile... but paint took me two years so all that will be a while :)
 
(Can you believe that was JR the summer we moved here?!)
 
The After:


Friday, November 14, 2014

My New Creative Workspace

 I'm so excited to finally have an area for Everyday Pitter Patter! This is our guest room, so I still needed room to pull out the trundle & accommodate friends.  Thankfully the closet is huge! So I took down the old wooden sliding doors, painted all the walls white and the trim gray and accessorized with items I had around the house or already in here for the guest room.  The only things purchased new for this area: 2 white bookshelves from Target, fur throw & duvet from Ikea. 
 The paint was leftover from all our upstairs trim projects (getting rid of so much dark wood!!) and while I might have chosen a something a little different... I love how it opened up the room, allows for great light & background in product photos, and has a little sheen to it :)


I love having my packing supplies within reach & extra special having your kind thank-you notes on display! I'm so thankful for each of my buyers and I love having your encouragement as a reminder each day.  And those scarf shelves were just FULL- y'all keep impressing me with your early Christmas shopping.  Hoping to restock on the fabric that's still available soon!


I always knew I wanted to turn my guest room into a creative working space... even more so after opening my Etsy shop and taking over our dining room table.  It can be difficult to try to get work done with little hands everywhere.  I wanted an area of organization & beauty where I could close the door and keep inventory out of reach!  I can shut the armoire doors and close the curtains to hide all of the accessories.  After planning & dreaming I was motivated to finish my creative area after seeing beautiful inspiration from WeWork.  It's a co-working company that aims to inspire creative people to do what they love.  And my goodness, if you need some more inspiration check out their pinterest board- so many amazing work spaces! 
And for small business owners or entrepreneur friends-- this magazine is full of great articles.
If you would like to know more about WeWork, check out their locations page to see if they are in an area near you!
 
 Now let's see how long I can keep this room organized!!
 
Curtains, Lamp & Shelving {Target}
Pillows & Art over bed {WorldMarket}
Custom Pitter Patter Hangers {HandcraftedAffairs}
Fur, Duvet & little green plants {Ikea}
and all of the others are from TJMaxx, my mom, or yard sales!
 

Tuesday, June 4, 2013

DIY Drop Cloth Striped Rug

Here are the details on how I made the drop cloth rug from yesterday's closet redesign... SO easy and cheap!  I picked up some drop cloth at Home Depot (I think it was 5X5 for just under $7.)  My kitchen rug (from Sam's Club) was actually the size I needed, so I used it as my template for cutting the drop cloth.  Now the sides of the cloth are sewn under which means that where I cut it was unfinished, but since it is not out in view everyday and the fabric doesn't really fray, I didn't sew around my cut edges.  I guess if your rug was in a visible location you could even do an iron-on hem tape to create a finished edge. 
 Next, I taped off where I wanted to paint the stripes.  As much as I would have preferred some chevron, nap time only allows for so much :)  Stripes it is!

After alternating paints and letting them dry... it was time to pull up the tape and place the rug in the new closet!  (I used leftover white trim paint and the extra chalkboard paint from the closet door. The drop cloth ended up being almost the same color as the walls or else I would have painted that stripe as well.)


DIY Closet Organization & Redesign


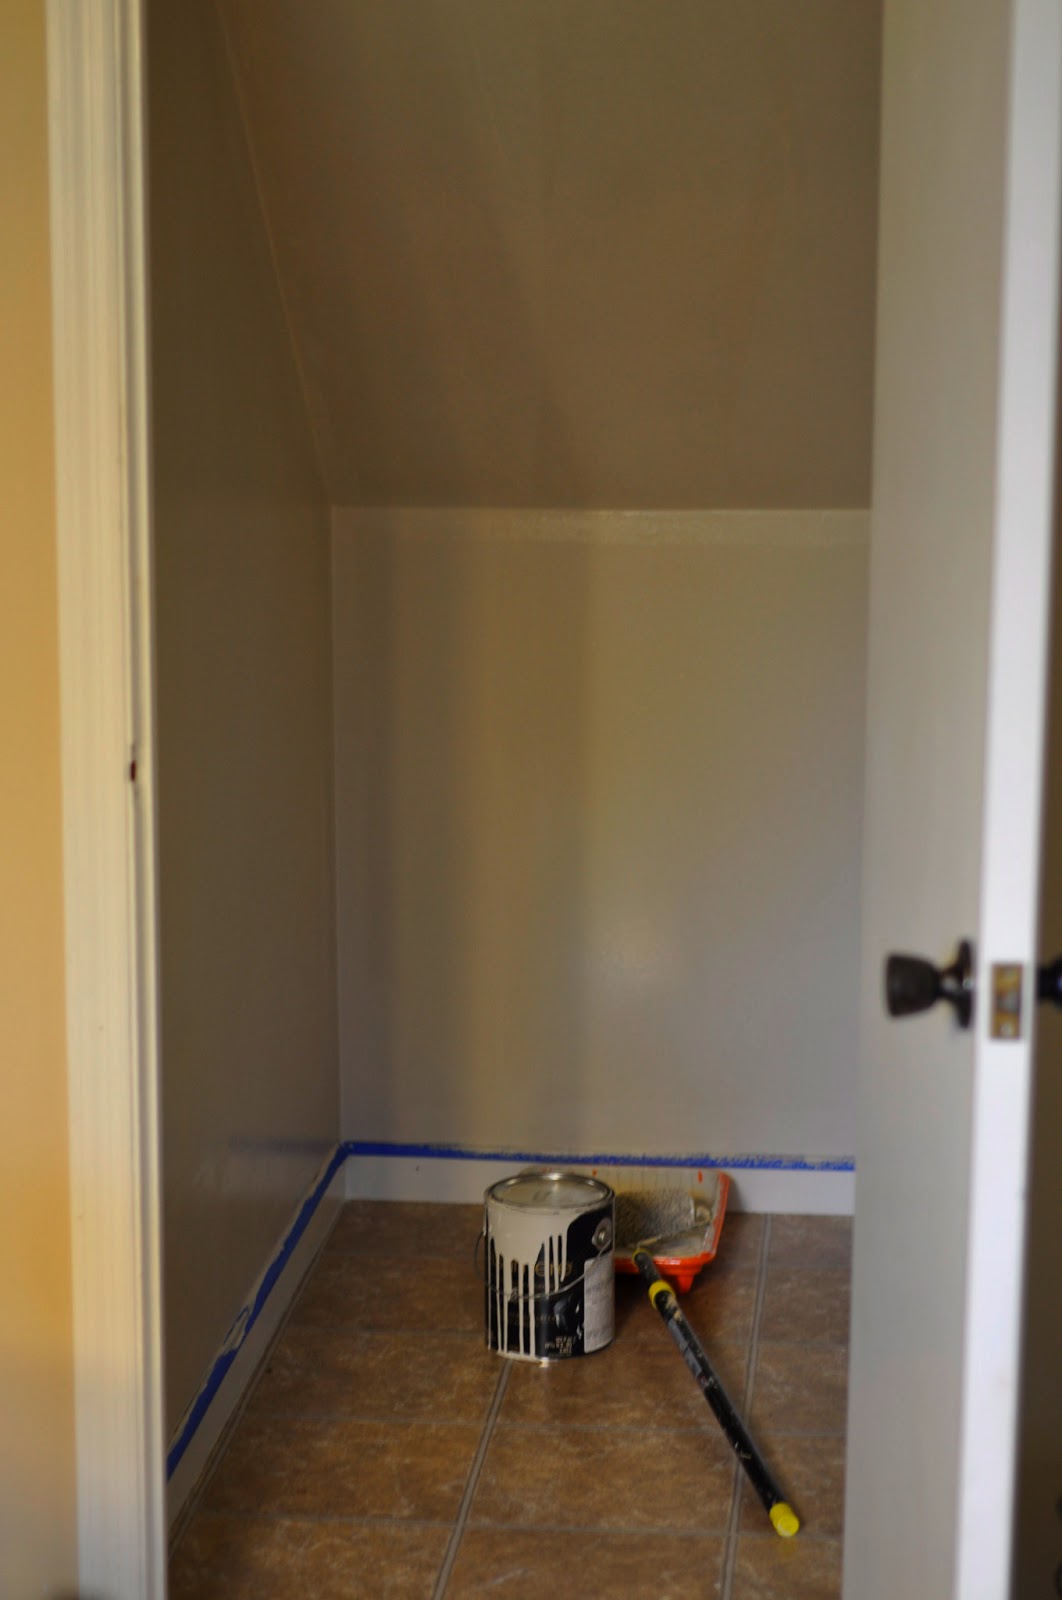
This was the mess of our hall/kitchen closet under the steps shortly after we moved in.  It is a small size closet right off the eat-in kitchen area that leads to a living room and is next to the garage door.  We actually have a pantry and laundry area just to the left of this closet (in the kitchen) with tons of wall shelves, but not much floor space, so there was still a lot of stuff piled into this closet that needed organization.  Some of this stuff went to the yard sale pile, laundry area, or the garage if not used very often, but there was still some improvement that needed to be made!


After we emptied the closet, we decided to use the leftover paint from our master bedroom walls
 to freshen up the area.  The walls were pretty scuffed up and I also wanted to see how I liked the color downstairs because eventually we may paint all the walls!  It is called Agreeable Gray- Sherwin Williams.  (more on that when I post about our room- we LOVE it!)


 Although I have a chalkboard just outside the closet hanging on the wall, I thought I would make the visible one the "pretty" decorative chalkboard and paint a smaller one inside the door for list-making and notes.  I taped off a box on the door and painted 3 coats of chalkboard paint (Krylon indoor paint).

 Here is the finished room! 
I may still shuffle things around as we organize other closets and eventually add some storage with a hutch/dresser in dining room.  And a little confession... this is our first real ironing board!  We used my college dorm size board for the past 5 years and I thought it was time I got Patrick a real one :)  Seriously though, he is really the only one that irons- I'm not allowed to iron his dress shirts- and we usually use our clothes steamer for everything else.  But I do have to say, I may just have to try it out thanks to the cute cover from Target. 

 For the little chalkboard signs, I just painted some glossy junk mail with 2 coats of paint and it seems to work just fine!


The white shelves are from Target- one shoe shelving unit (two rows on top) sitting on top of another shelving unit that is actually meant to be upright, but I took the shelves out and it was the same width as the shoe shelves. I'll post about the DIY rug tomorrow!  Super easy and cheap (drop cloth & paint)

$$ Rundown:

$9: hooks for the ironing board and brooms
$25: new ironing board & cover
$13: shoe shelves- I already had the one shelf
$3: rug (bought a $6 drop cloth and used less than half)
I used extra paint for the walls, rug and chalkboard
$50 total!  For a room that I love! -and really half that $ , if you already have an ironing board :) 

Tuesday, April 12, 2011

almost finished.

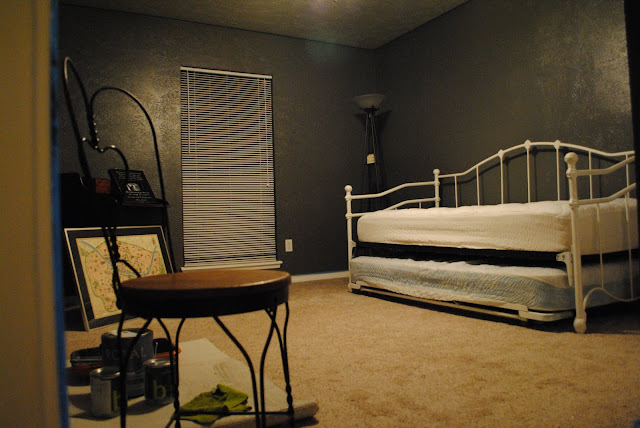
Walls: Kendall Charcoal (from Benjamin Moore, but I had it matched into the cheaper Ace Hardware paint in Eggshell)
Ceiling: Platinum Gray (semi-gloss Benjamin Moore... they couldn't match it in Ace paint and I used semi-gloss, better in kitchens or bathrooms, because I may use the rest of it in our guest bath.)


 the room at night:


 the room in the daylight:
Hope to have the decorating finished by the weekend!